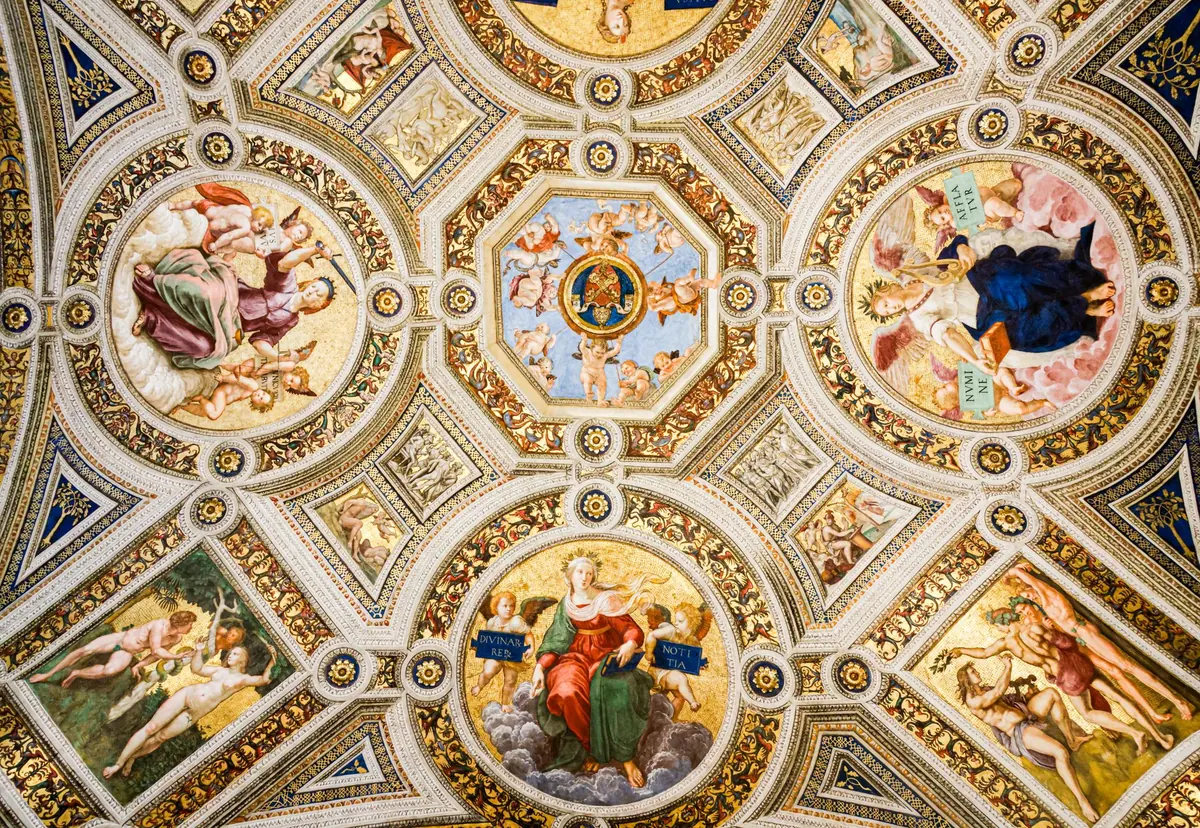
A fresco does not hang on a wall; it is the wall. That one fact changes everything about how you photograph one. There is no taking it down, no moving it into a better room, no second original if something goes wrong. So the task is to come away with a good file while leaving the surface exactly as you found it: no heat, no pressure, no scraping tripod feet, no stray light left burning against the plaster while you review your shots.
The encouraging part is that the careful method and the good-looking method turn out to be the same method. Frontal, evenly lit, well-supported pictures are also the ones that ask the least of the painting. Here is how to get them.
Before You Unpack: Permissions and Posture
Every site has its own rules, and those rules usually live with a person rather than a website: the sacristan, the museum's duty officer, the comune office, the conservation office responsible for the building. Ask before you set anything up, not after someone has asked you to stop. Where photography in heritage sites is regulated — as it is across most of Italy — the permission that covers pictures for your own reference is frequently not the same one that covers publication, stock use or a printed book. Say plainly what the images are for, and let the answer shape your plans.
Three questions cover most situations. May I use flash? May I use a tripod or monopod? Is anything roped off or closed today? Add a fourth, because it is often the most useful: is there an hour when the light in here is easier? Custodians know their building in a way no guidebook does, and they tend to tell you more than you expect.
If tripods are not allowed, don't negotiate. Bring a beanbag, use a railing you are permitted to touch, raise the ISO, and brace yourself against a door frame rather than the wall. For anything intended for publication or commercial use, get the permission confirmed in writing, and if the situation is unclear, ask the institution's permissions office or take professional advice rather than relying on a general rule you read somewhere.
Light: The Part That Actually Touches the Wall
Flash is the obvious thing to avoid, and the reasons are practical as well as custodial. Conservation practice treats light as a cumulative exposure: conservators limit both intensity and duration for sensitive surfaces, and a room full of photographers firing bursts at close range is a different proposition from a visitor standing quietly in the nave. Flash also makes poor pictures of frescoes. It flattens the modelled surface, throws a hard shadow behind every projection, and bounces straight back off polished plaster or a protective glazing.
Hot lights are worse. A tungsten photoflood brought close to a painted wall is a small heater pointed at plaster, and plaster dislikes rapid local changes in temperature and humidity. If you genuinely need to add light, use a low-output LED panel, diffused, set off to one side, switched on for the exposure and off again. Keep it further away than feels necessary and accept the higher ISO.
Light is a loan, not a gift. Every minute of it comes out of the same account the painting has been drawing on for centuries.
Most of the time the building will do the work. Overcast daylight through a high window is close to ideal: soft, directional enough to describe the surface, and free. Direct sun is the enemy — it blows out the pale plaster and leaves the rest of the composition in shadow. If a sun patch is moving across the wall, wait, or ask whether a shutter can be partly closed. Raking light from a low angle is superb for showing giornate, cracks and lost edges, but treat it as two or three frames of investigation, not an hour-long session.
Distance, Angles and Hands Off the Plaster
Stand back and use a longer lens rather than stepping close with a wide one. A wide angle from a metre away bends the wall, drags the corners out of shape, and puts your lens hood within breathing distance of the surface. From four or five metres with a short telephoto, the same wall photographs square and calm, and perspective correction later costs you almost nothing.
Keep the camera axis perpendicular to the painting in both directions: level, not tilted up, and square to the wall rather than angled along it. Use the grid overlay and a hot-shoe bubble level if you have one. Nothing you do in post-processing recovers detail as cleanly as getting this right on site.
Your bag, elbows, jacket and lanyard are the real hazards. Set the bag down away from the wall, not against it. Never lean on scaffolding, never steady the camera against the painted surface, and never tape anything to plaster — if you need floor marks to keep a repeatable position, use removable markers on the floor and clear them with the custodian first.
Camera Settings That Do the Quiet Work
- RAW, always. White balance and highlight recovery matter here.
- Base ISO (100 or 200) when you have support; raise it only when you must.
- Aperture around f/8–f/11 for a flat wall shot. Go further only if the plaster is very uneven.
- Manual focus in live view, magnified. Autofocus hunts on low-contrast pigment and picks the wrong plane.
- Manual white balance measured on a grey card in the same light, plus one reference frame of the card.
- Protect the highlights. Plaster whites clip early, so expose so the brightest area is just short of clipping and check the histogram, not the preview.
- Two-second delay or a remote release, and electronic first curtain or silent shutter if the camera offers it.
- Switch off the AF assist beam and the confirmation beep. Both draw attention you don't want.
Reflections, Uneven Plaster and Large Cycles
Glare is usually geometry, not bad luck. Shift your position half a metre to the left or right and it often disappears. Wear dark clothing, dim your rear screen, and note that a polarising filter can help with reflections from protective glazing or a polished surface, though it will also deepen colours — take one frame with and one without so you can choose later.
Fresco plaster is a landscape, not a plane. At wide apertures the peaks are sharp and the hollows are not. Stop down a little, or take two or three frames focused at different distances and blend them afterwards. For a whole chapel or a long narrative cycle, work in overlapping sections with the camera in manual, the exposure and white balance fixed, and roughly a third of each frame repeated in the next. Stitching flat frames is straightforward; stitching frames that drifted in brightness is not.
A Field Checklist
- Confirm permission, and who gave it, before you open the bag.
- Ask about flash, tripods and closures; note the answer.
- Assess the light. Find the sun patches, then work away from them.
- Set up at a distance, square to the wall, level in both axes.
- Shoot a reference frame with a grey card and your notes in view.
- Check the histogram on the brightest area before committing to a series.
- Work methodically across the surface, overlapping each frame.
- Photograph any damage, crack or earlier intervention you noticed.
- Record location, wall, date, light conditions and lens used.
- Back up the card before you leave the building, if you can.
- Leave the space as you found it, and thank the person who let you in.
The Short Version
Ask first, add as little light as possible, stand further back than feels natural, and keep the camera square and steady. Note what you did while you still remember it, because a fresco file without a location and a date is nearly worthless six months later. Do that, and you will come home with images that show the painting honestly — and a wall that is exactly as you left it.
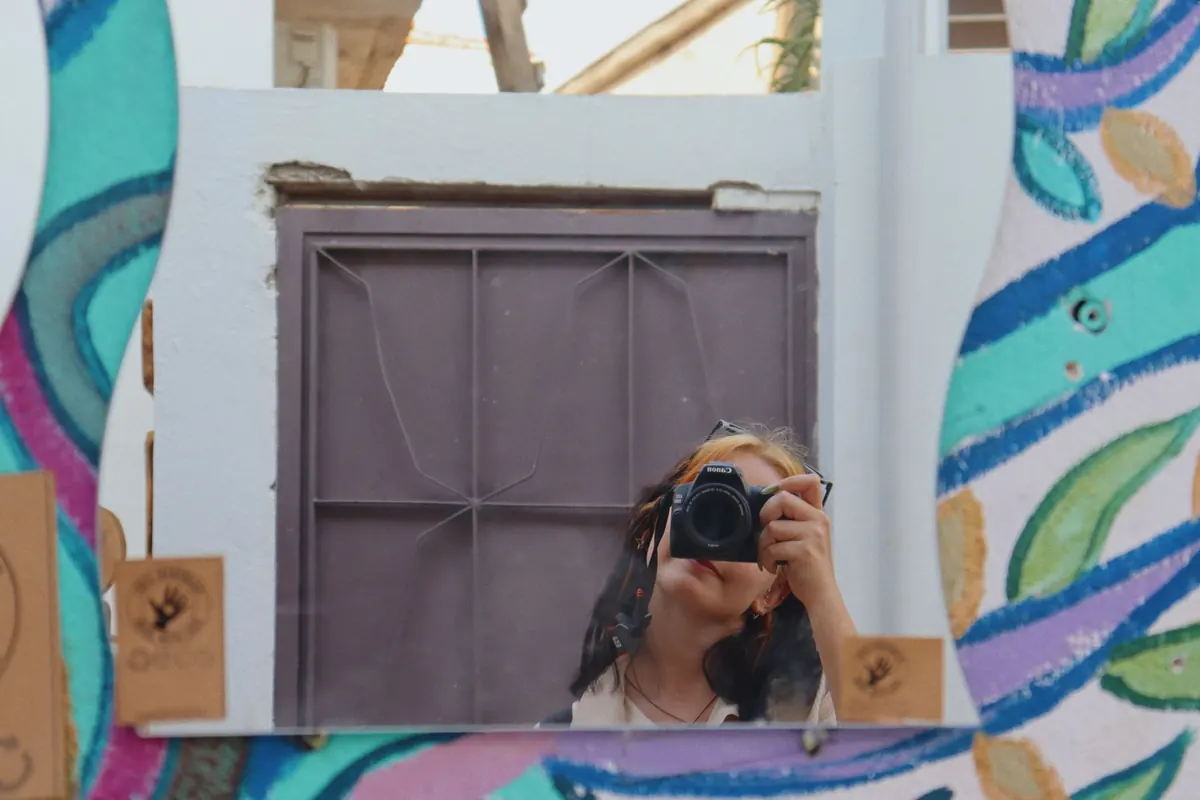
Photo: ege / Pexels